by Michelle Stam, WP graphic designer, and Vera Snodgrass, WP intern
It’s more doable than ever before for a business to take its own footage for smaller-scale projects like short social media promotional videos. If you need a video, we’ve got a few tips for taking better footage based on our experience with our own promo videos and videos for clients.
1. Plan ahead. Make a list of shots you need for your video. How many places can you leverage the same piece of video? Does that answer change your plan? If two pieces of video content have different audiences or end goals and need slightly different shots, getting them all in one shoot will save you time. Pro tip: Plan your video for the platform(s) your audience is the most influenced by.
2. Verify the quality. Before you record, make sure your camera (which can also be your phone!) is set to record at a high resolution, typically at least 1080 x 1920 (Full HD/FHD). Shooting in 4K (Ultra HD/UHD) or above can offer some additional editing perks, but keep in mind this results in a much larger file size. If you’re only planning to use your video on social media, shooting in Full HD will be perfectly adequate.
3. In most circumstances, shoot horizontally. Make sure you think about where you’re going to use the video and shoot it at the best orientation for that platform. People are in the habit of holding phones vertically, but for most video projects, vertical footage ends up looking unprofessional because it doesn’t fill the screen. Some exceptions are if you’re specifically shooting a TikTok, YouTube Short, Instagram Story, or Facebook Reel—then your camera needs to stay vertical.
4. Get mic’d up. If you’re recording audio, use a microphone. And if someone is being interviewed, consider using a wireless microphone to reduce background noise.
5. Don’t decapitate or amputate. If someone’s body is in frame, show their whole head. If you see ankles, you need feet, and if you see wrists, you need hands, etc. Make sure to review footage before you move to the next scene and reposition your subjects if needed.
6. Think about lighting. If you’re outside, try filming earlier or later in the day. Choose your days to shoot based on the weather forecast; overcast days offer the best lighting because the clouds naturally diffuse the light to make it soft. If you shoot on a sunny day, it’s best to keep your subject in the shade, so the lighting isn’t too harsh. Inside, put shades over harsh lights in front of your subject to soften the light and use reflective material to make a dim space brighter. When possible, use natural lighting from a window.
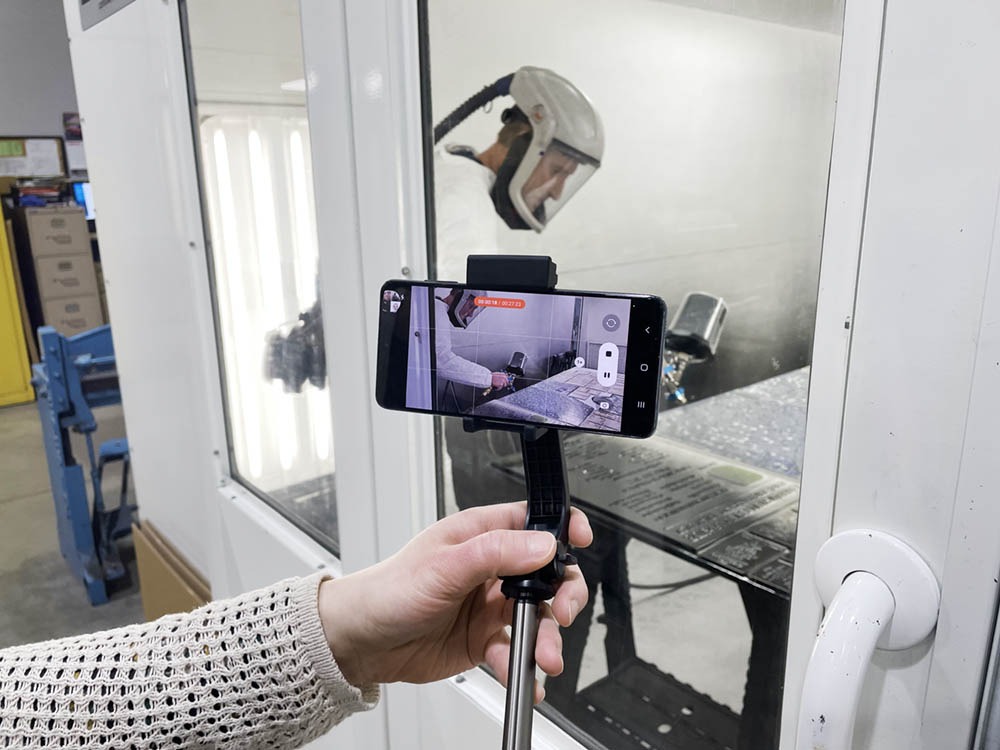
7. Keep it steady. Hands are naturally shaky when holding a camera. Use a tripod or gimbal if you have one. If you don’t, get creative with how you reduce shakiness—like using your body as a tripod by holding your arms close to your sides. When panning, go slowly, stay at a steady rate, and rotate your whole body, not just your arms.
8. Get the extras. Consider grabbing some extra footage (B-roll). This is footage to help set the scene and can be shown during a voiceover portion or during the intro or outro. Some examples: shots of someone completing a task, a walk-around of a product, or an outdoor pan of your business.
Once you’ve got your footage, it’s time to edit it all together! Video editing can be time consuming, so it might make sense to let the pros take over at this stage. The Write Place can help you develop your storyboard before you shoot, and we can add things like animations, logos, music, voiceovers, or callouts to your footage.


